 Burlington
 Lyman's Setting Shapes What Siding Has to Do
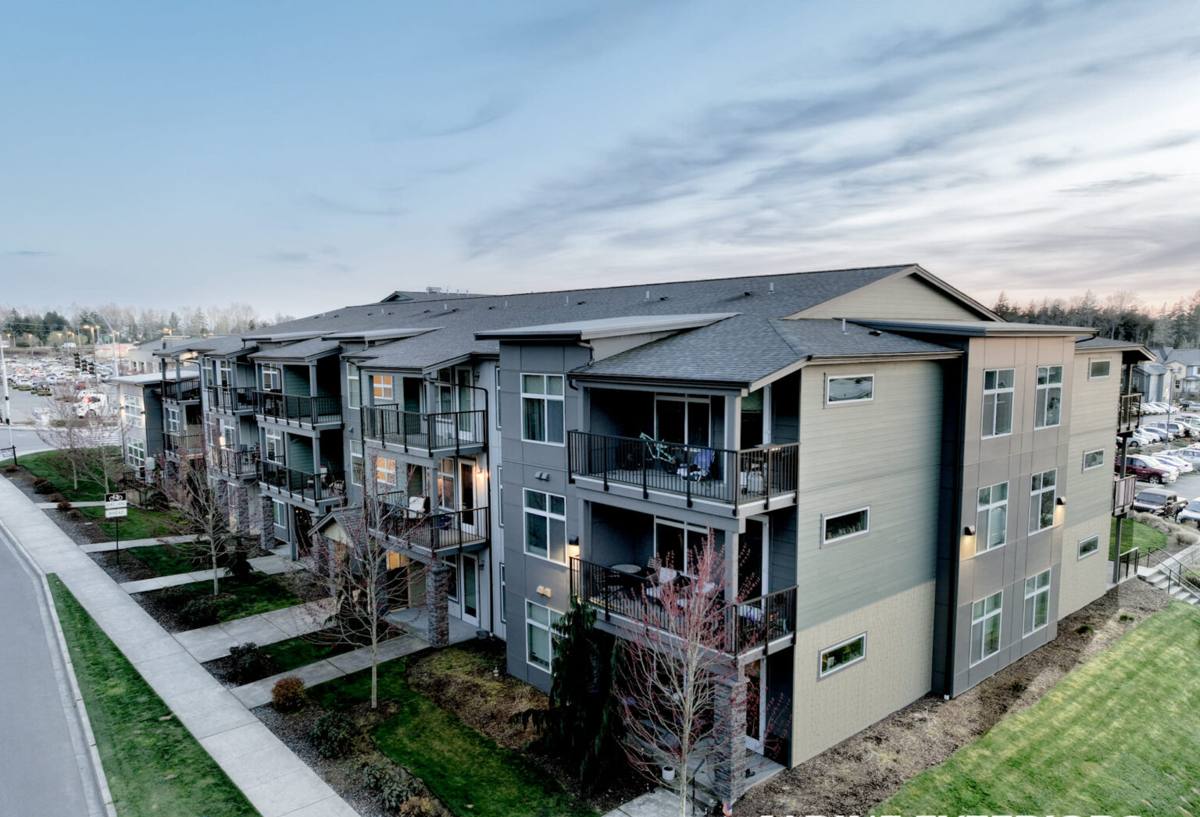
Lyman sits along the Skagit River east of Burlington, tucked between wooded hillsides and the river bottom. Homes here often sit under mature fir and cedar canopy, with less direct sun and afternoon breeze than the open, flatter ground closer to town. That shade is part of what makes the community feel the way it does — but it also means exterior walls dry out slower after every storm, and this stretch of Skagit County sees no shortage of storms. Add in the marine-influenced air that pushes up the valley from Puget Sound — driving rain, salt-tinged humidity, and a moss season that can run most of the year — and siding on a Lyman home is under more sustained pressure than the average subdivision lot.
Homeowners who've lived here a while can usually describe the pattern without being asked: the fascia trim greens up first, then the north wall, then whatever's tucked under a low eave or behind a hedge. That's not a defect unique to any one product — it's what happens when moisture, shade, and time work on a wall system year after year without much of a break. A siding replacement in Lyman needs to interrupt that pattern, not just cover it up.
Why Moisture and Moss Are the First Problem to Solve
Shade and Slow-Drying Walls
A wall that gets direct afternoon sun sheds surface moisture in a few hours. A shaded wall on a river-adjacent lot in Lyman can stay damp for days after a storm system rolls through. That slower dry-out time is the single biggest factor in how fast siding, trim, and paint break down here compared to more open sites nearby. It's also why the same siding product can perform noticeably differently on two homes just a few miles apart — one in open pasture, one under a tree canopy.
What Happens When Old Siding Loses the Fight
The early warning signs are familiar to most Lyman homeowners: paint that won't hold past a couple of years on the shaded side, seams that swell and telegraph through the finish, soft spots at the bottom courses where splashback and moss hold water against the wall. Wood-based and wood-composite sidings are especially prone to this because they absorb moisture at cut edges and fastener holes, and once that moisture is in, shade keeps it there. That's a maintenance burden that compounds — every year you skip a repaint or a caulk touch-up, the next round of work gets more expensive.
What a Correct Siding Replacement Actually Involves
Tear-Off and Sheathing Inspection
A proper replacement starts with full tear-off, not an overlay. Covering old siding with new product traps whatever moisture and rot are already in the wall, and on a shaded, damp lot that's a bad bet. Once the old siding is off, the sheathing gets inspected — soft, delaminated, or stained OSB and plywood get cut out and replaced before anything new goes up. Skipping this step is the single most common corner cut in this trade, and it's the one that costs the most to fix later.
The Water-Management Layer
Behind the siding itself, the water-resistive barrier and flashing details do most of the real work. Window and door flashing needs to be lapped correctly so water sheds outward, not into the wall cavity. Kick-out flashing at roof-to-wall intersections has to actually divert water away from the siding instead of dumping it down the face of the wall — a detail that's easy to miss and expensive to ignore. On heavily shaded, slow-drying elevations, a rainscreen gap behind the siding gives the wall a chance to ventilate and dry, rather than staying damp against the back of the cladding.
Fastening and Finish
Fiber cement siding has to be installed to the manufacturer's specific nailing pattern, gap tolerances, and clearances from grade and roof lines — not "close enough." Fastener spacing that's too tight or too loose affects both the warranty and how the panels perform through freeze-thaw cycles and wind-driven rain. A factory-applied finish, rather than field-applied paint, also matters here: factory finishes are baked on under controlled conditions and hold color and adhesion far longer than anything applied on-site, which is a real advantage on a wall that's going to spend most of the year damp and shaded.
Why We Install James Hardie Fiber Cement Here
Engineered for This Kind of Climate
We install James Hardie fiber cement exclusively, and on a lot like Lyman's, the reasons are practical rather than theoretical. Hardie's HZ5 product line is engineered specifically for wetter, harsher climates like western Washington — it's built to resist moisture-related damage, and it won't swell, rot, or delaminate the way wood-based sidings can when they stay wet for extended periods. It's also non-combustible, which is worth noting on wooded, tree-covered properties where ember exposure from wildfire is a real regional consideration, not just a coastal one.
ColorPlus Finish and Long-Term Upkeep
The ColorPlus factory finish is the piece that matters most for a low-maintenance outcome on a shaded lot. It resists fading and peeling far longer than field-applied paint, which means fewer repaint cycles on walls that are already harder to access and slower to dry. For a lot of Lyman homeowners, that translates directly into fewer maintenance trips and less money spent fighting moss and paint failure every few years.
Our Process, Start to Finish
The process is the same whether we're working a river-bottom lot in Lyman or a home closer to downtown Burlington — the details just get adjusted for the site.
- On-site assessment of the existing siding, trim, and any visible moisture or moss issues, with particular attention to shaded and north-facing walls.
- A written scope covering tear-off, sheathing repair contingencies, flashing details, and the specific Hardie product and color selected.
- Full tear-off and sheathing inspection, with any rot or delamination addressed before new material goes up.
- Installation of the water-resistive barrier, flashing, and (where the site calls for it) a ventilated rainscreen gap.
- Siding installation to manufacturer spec, followed by trim, caulking, and detail work at penetrations.
- Site cleanup and a final walkthrough so you can see the work up close before we call it done.
Cost Factors for a Lyman Siding Replacement
Every home is different, but the same handful of factors drive most of the cost variation we see on siding replacements in this area.
| Factor | Why It Matters Here |
|---|---|
| Home size and wall complexity | More square footage and more corners, dormers, and trim details mean more labor and material. |
| Sheathing condition | Shaded, river-adjacent walls run a higher chance of hidden moisture damage, which adds repair scope once tear-off begins. |
| Site access | Wooded lots, long driveways, and limited staging area can slow tear-off and material delivery. |
| Siding profile and accessories | Lap width, trim style, and corner details affect both material cost and install time. |
| Weather-related detailing | Rainscreen gaps and extra flashing on high-moisture elevations add labor but reduce long-term risk. |
Why a Crew That Already Works in Lyman Matters
Rural and semi-rural properties in this part of Skagit County come with logistics that a crew unfamiliar with the area can underestimate — long gravel driveways, septic and well setbacks that affect staging and dumpster placement, and limited turnaround room for delivery trucks. A crew that's already worked jobs out here knows to plan for that before the trucks show up, not after.
Weather timing matters just as much. Because walls in this area dry out slowly, tear-off scheduling has to account for realistic weather windows, not just the forecast for a single day — a contractor familiar with how this valley behaves through the fall and winter is less likely to leave sheathing exposed longer than it should be. Familiarity with Skagit County's permitting requirements also keeps the paperwork side of the project from becoming a delay.
A Homeowner's Pre-Project Checklist
Before you call anyone for an estimate, a quick walk around your own home will help you describe the problem accurately and get a more useful quote.
- Check the north-facing and most shaded walls for moss, staining, or soft spots.
- Look at trim and window casings for peeling paint or visible gaps in the caulking.
- Note any interior signs of water intrusion — stains on ceilings or walls near exterior corners.
- Check the crawlspace or attic for musty smells or visible moisture, which can point to wall-level issues.
- Ask any contractor you're considering whether they plan full tear-off or an overlay, and why.
- Get the scope of work in writing, including flashing details and the specific siding product and warranty.
If you're seeing moss, soft trim, or paint that won't hold on a Lyman-area home, we're happy to take a look and put together a straightforward, no-pressure estimate — just fill out the form below.