 Burlington
 Building New in Oak Harbor? The Windows Have to Match the Exposure
When a home is going up from the studs out, the window package is one of the few decisions that's genuinely permanent. Get it right during framing and rough-in, and the house stays dry and comfortable for decades. Get it wrong, and you're chasing leaks, fogged glass, and rot behind the trim within a few years — usually right around the time the warranty runs out. Oak Harbor sits close enough to the water that homes here take a different kind of weather beating than inland builds: salty, moisture-laden air, wind-driven rain that doesn't just fall but gets pushed sideways into wall assemblies, and a long, damp shoulder season where moss and algae get a foothold on anything that stays wet too long. New-construction windows here need to be selected and installed with that exposure in mind from day one, not treated like a generic product pulled off a shelf.
Burlington Siding builds and installs new-construction window openings for homes and additions in and around Oak Harbor. This page covers what that actually involves — the climate factors, the difference between new-construction and replacement windows, the install process, and the honest cost drivers — so you know what a correct job looks like before crews show up.
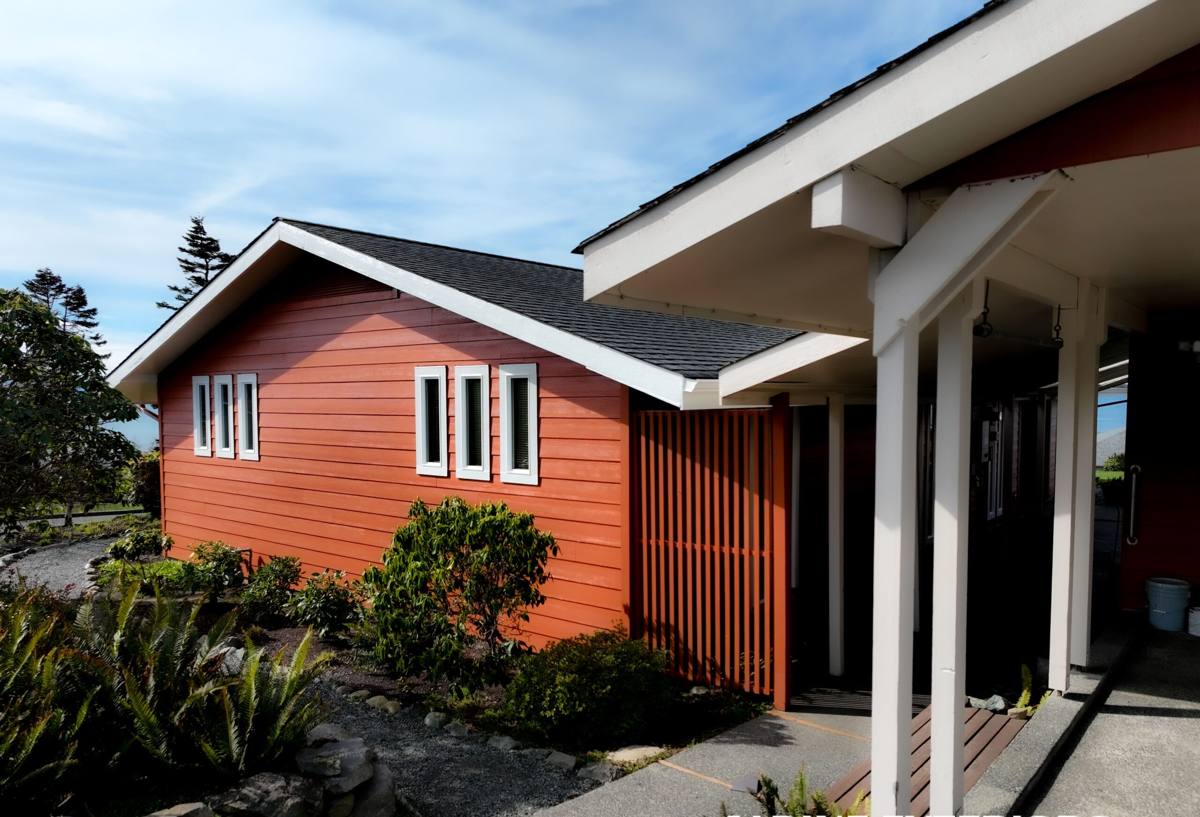
What Salt Air, Driving Rain, and Moss Season Actually Do to a Window Opening
Salt air
Airborne salt is corrosive to metal fasteners, window hardware, and unprotected flashing. On coastal builds we pay closer attention to fastener material and hardware finish than we would inland — a cheap fastener that would last twenty years in a dry valley town can start showing corrosion in a fraction of that time this close to the water.
Driving rain
Wind-driven rain doesn't behave like a normal rainstorm. It gets forced sideways and upward into wall assemblies, which means it finds every gap in a window's flashing and every skipped step in the sealant detail. A window that would perform fine in a sheltered inland lot can leak on a exposed Oak Harbor site if the flashing sequence isn't built to shed water downward and outward at every layer, not just at the surface.
Moss and algae season
Long, cool, wet stretches of the year mean moisture sits on exterior surfaces for extended periods. Moss and algae don't damage glass, but they do take hold on sills, trim, and any horizontal surface that doesn't drain and dry quickly. A window detail that traps water instead of shedding it becomes a moss farm within a couple of seasons — which is more than a cosmetic problem, since trapped moisture against wood trim eventually leads to rot.
New-Construction Windows vs. Replacement Windows: Not the Same Job
This distinction matters more than most homeowners realize, and it's the reason "new-construction windows" gets its own page instead of folding into general window replacement.
| Factor | New-Construction Window | Replacement Window |
|---|---|---|
| Installed into | Open stud framing, before siding and interior finish go on | An existing finished opening, working around trim already in place |
| Nailing fin | Yes — fin fastens directly to sheathing, fully accessible | Typically no fin; unit is set into the old frame |
| Flashing access | Full access to housewrap, sheathing, and rough opening on all four sides | Limited — existing siding and trim constrain what can be re-flashed |
| Best fit for coastal exposure | Allows a complete, layered flashing system built in from scratch | Relies on the integrity of whatever flashing already exists behind the old trim |
For new construction, we get to build the water-management system correctly from the very first layer — housewrap, flashing tape, sill pan, window, head flashing — with nothing hidden or compromised by existing finish work. That's the advantage of doing it right at this stage: there's no retrofit compromise involved.
What a Correct New-Construction Window Installation Involves
A window is only as good as the opening it sits in. The unit itself — vinyl, fiberglass, or clad wood — is a small part of the equation compared to how the opening is prepared and sequenced. On an exposed, wet-climate site like Oak Harbor, we treat every one of these steps as non-negotiable:
- Rough opening check: square, level, and sized correctly before anything else happens — a slightly out-of-square opening stresses the frame and compromises the seal for the life of the window.
- Sill pan flashing: a sloped, back-dammed pan under every opening so any water that gets past the window has somewhere to go besides into the wall.
- Housewrap integration: flashing tape and housewrap layered shingle-style — each layer overlapping the one below it — so water is always directed outward and down, never trapped behind a layer.
- Corner and jamb sealing: the corners of a rough opening are where most leaks start; they get flashed and sealed as a deliberate step, not an afterthought.
- Fastening through the nailing fin: proper fastener spacing and type, chosen with the coastal corrosion exposure in mind.
- Head flashing with a drip edge: installed last, over the top of the window, so water sheds away from the head jamb instead of running behind it.
- Interior and exterior sealant: a continuous, gap-free bead where the manufacturer specifies it — sealant is a backup layer, not the primary water barrier, and we don't treat it as one.
Skip or shortcut any one of these and the rest of the assembly doesn't matter — water finds the weak point eventually, and on a site with this much wind-driven rain, it finds it faster.
Choosing Windows and Glass for This Climate
Material choice matters less than correct installation, but it's still worth getting right for a coastal, damp climate:
- Frame material: vinyl and fiberglass both hold up well against salt air and moisture and require little upkeep. Clad wood units look great but need the cladding and any exposed wood detail maintained — that's a legitimate trade-off to weigh, not a flaw, just a maintenance commitment worth being honest about upfront.
- Hardware and fasteners: look for corrosion-resistant hardware finishes on any coastal build — standard hardware can start showing wear faster this close to salt air.
- Glass package: double-pane, low-E glass is standard for this region's mix of damp winters and warm summer afternoons; it manages condensation and heat gain better than single-pane or basic dual-pane without a low-E coating.
- Drainage design: look for sill designs with functioning weep holes that actually drain — some low-cost units have weep paths that clog easily or don't drain fast enough for a high-rainfall climate.
We'll talk through the options that fit your project's budget and design, but the honest answer is that a mid-grade window installed correctly outperforms a premium window installed carelessly, every time.
Our Process on a New-Construction Job
- Site and plan review: we look at the framing plans (or the framed openings themselves, if we're brought in after framing) and confirm rough opening sizes, orientation, and exposure before ordering units.
- Material selection: we walk through frame material, glass package, and hardware options based on your budget and the site's exposure to wind and salt air.
- Ordering and lead time: we confirm sizes and place the order, building lead time into the schedule so windows arrive when the framing is ready for them — not before, not after.
- Opening prep: square and level check, sill pan flashing, and housewrap/flashing tape integration, done before a single window is set.
- Setting and fastening: units are shimmed, squared, and fastened per manufacturer spec, then checked for smooth operation before flashing is finished.
- Final flashing and sealant: head flashing, sealant, and any remaining housewrap integration completed to close out the water-management system.
- Walkthrough: we check operation, seal, and finish on every unit with you or your builder before we consider the job done.
What Drives the Cost
Every new-construction window job is priced around the same handful of variables. Here's what actually moves the number, in plain terms:
| Factor | Why It Affects Cost |
|---|---|
| Number and size of openings | More and larger windows mean more material and more labor hours |
| Frame material | Vinyl is typically the most affordable; fiberglass and clad wood cost more upfront |
| Glass package | Upgraded low-E coatings or specialty glass (e.g., sound-dampening or impact-rated) add cost |
| Site exposure | Fully exposed, wind-driven-rain sites may call for extra flashing detail and time |
| Access and staging | Second-story openings or tight lot access take longer to stage and install safely |
| Timing with other trades | Coordinating tightly with framing and siding crews keeps the schedule efficient and avoids rework |
We give straightforward, itemized estimates so you can see exactly what you're paying for — no vague lump-sum numbers.
A Quick Checklist Before You Order Windows for a New Build
- Confirm rough opening sizes against the actual window order, not just the plan set — framing tolerances happen.
- Ask what sill pan flashing method will be used, and make sure it's back-dammed and sloped to drain outward.
- Ask whether fasteners and hardware are rated for coastal/salt-air exposure if the site is near the water.
- Confirm the housewrap and flashing tape sequence — it should shingle from bottom to top, no exceptions.
- Get lead times in writing and build them into the framing schedule so windows aren't sitting exposed, or worse, holding up the job.
- Ask for a walkthrough and operation check on every unit before final sign-off.
Why It Matters to Hire a Crew That Already Works Oak Harbor
A window installer who mostly works dry, sheltered inland lots isn't necessarily used to building flashing details for wind-driven rain and salt air — and that gap doesn't show up until the first real storm season. Crews who already work Oak Harbor and the surrounding coastal communities know which details matter most here: how much lap to give housewrap in an exposed wall, which fastener finishes hold up, and how to detail a sill so moss doesn't get a foothold in the first place. That local experience shows up as fewer callbacks, not extra cost — the correct detail takes the same time as a shortcut, it just requires knowing which one is which.
Burlington Siding is based in Skagit County and builds new-construction window openings the same way whether the site is a sheltered inland lot or fully exposed near the water — the difference is in the flashing detail and material choices, not in the level of care.
If you're framing a new home or addition in Oak Harbor and want the window package done right the first time, we're happy to walk the plans with you and put together a straightforward, itemized estimate — no pressure, no sales pitch, just a clear look at what your project needs. Use the form below to get started.