 Burlington
 Why Guemes Island Wears Out Siding Differently
Guemes Island sits out in the marine waters off Skagit County, reachable only by the Guemes Island ferry out of Anacortes, and that setting shapes everything about how siding ages there. The salt air coming off Rosario Strait settles on exterior surfaces day after day, working into fastener heads, trim seams, and any spot where a coating has thinned or worn through. Add the driving rain that blows in sideways during winter storms off the water, and siding on this island takes on moisture loads that inland Burlington homes simply don't see in the same way.
Then there's the tree cover. Much of Guemes Island sits under a heavy canopy of Douglas fir and cedar, which keeps homes shaded and damp for long stretches of the year. That shade, combined with our long Pacific Northwest moss season, means north-facing walls and anything under roof overhangs stay wet longer and grow moss and algae faster than siding in full sun. Moss isn't just cosmetic — its root structure holds moisture against the siding surface and, over years, that constant dampness is what actually causes rot, delamination, and paint failure underneath it.
None of this means siding on Guemes Island is doomed. It means repairs here have to account for salt exposure, wind-driven rain, and shade-driven moss in a way that a generic patch job doesn't.
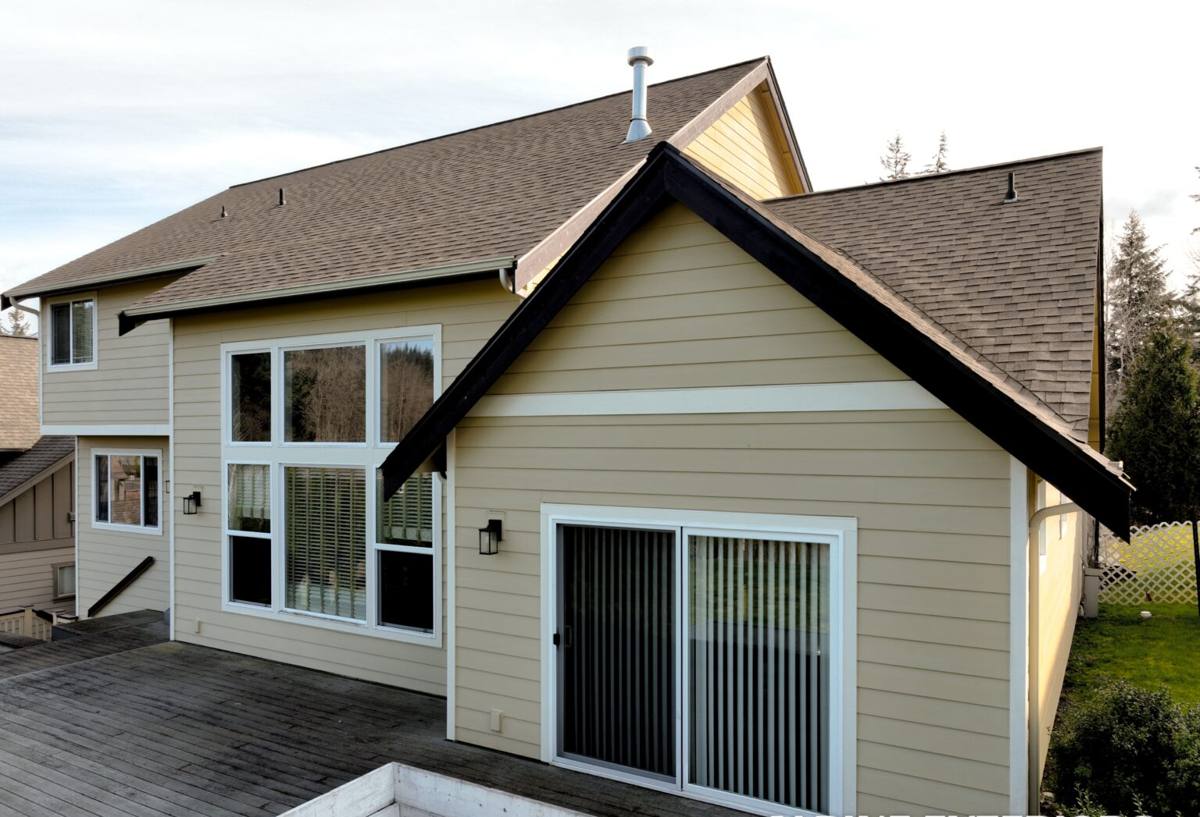
Signs Your Siding Needs Repair
Most siding problems on the island show up gradually, and catching them early is the difference between a modest repair and a much larger project. Walk your exterior a couple times a year, especially after the wet season, and look for these signs:
- Soft or spongy spots when you press on siding, especially near the bottom courses or under windows
- Visible cracking, splitting, or buckling in individual boards or panels
- Paint or finish that's peeling, bubbling, or chalking well before you'd expect
- Persistent moss or algae growth that keeps coming back after cleaning
- Rust streaks below nail heads or fastener locations, a common salt-air symptom
- Gaps opening up at trim boards, corner boards, or butt joints between panels
- Staining or discoloration on interior walls that lines up with an exterior section
- A musty smell in a room that backs up to an exterior wall
Any one of these on its own might be minor. Several showing up in the same area, especially on a wall that faces the water or sits under heavy shade, usually means moisture has been getting behind the siding for a while.
What a Correct Repair Actually Involves
Finding the Real Cause First
The biggest mistake in siding repair is treating the visible damage as the whole problem. A cracked board or a soft spot is usually a symptom, not the cause. Before we replace anything, we pull back the damaged material and look at what's underneath it: the house wrap or building paper, the flashing at windows, doors, and roof lines, and the condition of the sheathing itself. If water has been getting in through a failed flashing detail or a gap in the weather barrier, patching the visible siding without fixing that entry point just buys you a repeat repair in a few years.
On a salt-air, high-rain site like Guemes Island, this step matters more than it does on a sheltered inland lot. We've seen cases where the siding itself was fine but the fasteners or flashing had corroded enough to let water track behind the wall, and cases where moss buildup had trapped enough moisture against a wall to start rot in the sheathing even though the siding surface still looked okay from a few feet away.
Matching Materials Correctly
Once we know what's actually failing, the repair itself needs to match the existing wall in profile, reveal, and finish as closely as possible, or the patch will stand out and often perform differently than the surrounding material. This is straightforward on a home already sided in James Hardie fiber cement with a ColorPlus factory finish, since we can match plank width, exposure, and color line directly. It gets more complicated on homes sided in older materials, which is common enough on an island with a lot of long-owned properties — we'll walk through how we handle that below.
Repair or Replace: How to Think About It
Not every damaged section needs to become a full re-side. The right call depends on how much of the wall is affected, what's causing the damage, and how old the existing material already is. This is a general guide, not a quote — every home is different.
| Situation | Typical Approach | Why |
|---|---|---|
| Isolated impact damage, one or two boards, siding otherwise sound | Localized repair | No sign of underlying moisture issue; targeted fix is enough |
| Failed flashing or trim causing water intrusion in one area | Repair the damaged siding plus the flashing/trim detail | Fixing only the siding without the water source leads to repeat damage |
| Widespread moss staining and soft spots across one full elevation | Section or full-wall replacement | Moisture has likely been active long enough to affect a broad area, not just visible spots |
| Original siding is 25+ years old, brittle, or a discontinued profile | Full replacement, usually with Hardie | Matching old material gets harder every year; patches age visibly differently |
| Rot found in sheathing during tear-back | Repair sheathing first, then replacement siding over it | New siding over compromised sheathing doesn't hold up |
Why Repairs Go Back On With James Hardie
We install James Hardie fiber cement siding exclusively, and that applies to repair work too. When a wall needs new material — whether it's a small patch or a full section — we use Hardie boards with a factory ColorPlus finish rather than primed wood, vinyl, or other fiber cement alternatives. There's a practical reason for this beyond preference: fiber cement doesn't rot, doesn't attract the moisture-loving growth that feeds moss and mildew the way some wood-based products do, and it holds up to the kind of driving rain and salt exposure Guemes Island sees without the swelling or warping issues that plague some alternatives over time.
If your home is currently sided in something other than James Hardie — cedar, older vinyl, LP SmartSide, or another fiber cement brand — we'll be straight with you about your options. A small, low-visibility repair using compatible material to patch in and hold you over is sometimes the practical short-term answer, particularly on a less visible elevation. But we won't pretend that patching an aging, discontinued, or moisture-compromised product is a long-term fix, and for any repair that needs a genuine like-new result, we'll recommend transitioning that section — or eventually the whole home — to Hardie rather than chasing a diminishing supply of matching material for a product we don't stand behind long-term.
Getting to the Island: How We Handle Logistics
Working on Guemes Island means working around the ferry. Materials, crew, and equipment all have to cross on the same schedule everyone else does, which means repair jobs here get planned differently than a same-day fix in Burlington proper. We build ferry timing into the schedule up front — loading materials ahead of time, grouping tasks so a trip across accomplishes as much as possible, and being realistic with homeowners about start and completion windows rather than promising a timeline that ignores how the island actually works.
This is also where local experience matters. A crew that hasn't worked the island before will often underestimate how much the ferry schedule, limited on-island staging space, and weather windows affect a repair timeline. We've done this enough times to plan around it instead of being surprised by it mid-job.
Our Repair Process on Guemes Island
- Inspection: We look at the damaged area and the surrounding wall, checking for signs the problem extends further than what's visible.
- Diagnosis: Where there's any indication of moisture intrusion, we pull back siding to inspect the house wrap, flashing, and sheathing before deciding on scope.
- Written scope: You get a clear explanation of what we found, what needs to happen, and why — including whether a targeted repair or broader replacement is the honest recommendation.
- Material and logistics planning: We order matched Hardie material and plan the ferry crossings and on-site staging around your timeline.
- Repair: Damaged material comes out, any underlying issues (flashing, wrap, sheathing) get corrected, and new material goes in to match the surrounding wall.
- Finish and seal: Caulking, paint touch-up on cut edges, and trim detailing are finished to blend with the existing siding as closely as possible.
- Final walkthrough: We review the completed work with you before we call it done.
Keeping Moss and Salt Air From Undoing the Repair
A repair holds up longer if the conditions that caused the original damage get addressed too. A few habits make a real difference on an island site like this:
- Rinse siding down at least once or twice a year, especially shaded and north-facing walls where moss builds up fastest
- Trim back branches and vegetation that keep a wall in constant shade and slow down drying after rain
- Check caulking at trim, window, and door edges annually and re-caulk before gaps open up into water paths
- Keep gutters and downspouts clear so roof runoff isn't dumping extra water onto siding below
- Have any new staining, soft spots, or fastener rust looked at while it's still a small repair
None of this requires special equipment or a big time investment, but it's the difference between a repair that lasts and a spot that needs redoing in a few years.
Get a Straight Answer on What Your Siding Needs
If you're seeing damage, moss buildup, or soft spots on your Guemes Island home, we're happy to take a look and give you a straightforward read on what's actually going on — a small patch, a targeted repair with some underlying work, or a bigger conversation about replacement. Reach out for a free, no-pressure estimate and we'll tell you what we'd do if it were our own house.