 Burlington
 Building New on Guemes Island? Get the Windows Right the First Time
New construction gives you one real shot at getting windows installed correctly. On a replacement job, a poorly flashed window is a problem you can find and fix later. On a new build, that same window gets buried behind siding, trim, and interior finish before anyone would ever notice a mistake — and on Guemes Island, the climate has a way of finding every mistake eventually. Salt air off the water, driving rain that comes in sideways during winter storms, and a long moss season that keeps everything damp for months at a time all put real pressure on a building envelope. Windows installed during framing are one of the few places where corners cut early show up as rot, leaks, or failed seals years down the road.
Burlington Siding works new-construction jobs on Guemes Island regularly, alongside our broader Skagit County service area. This page covers what the island's climate actually requires from new-construction windows, how that installation differs from a replacement job, and what our process looks like from rough opening to final seal.
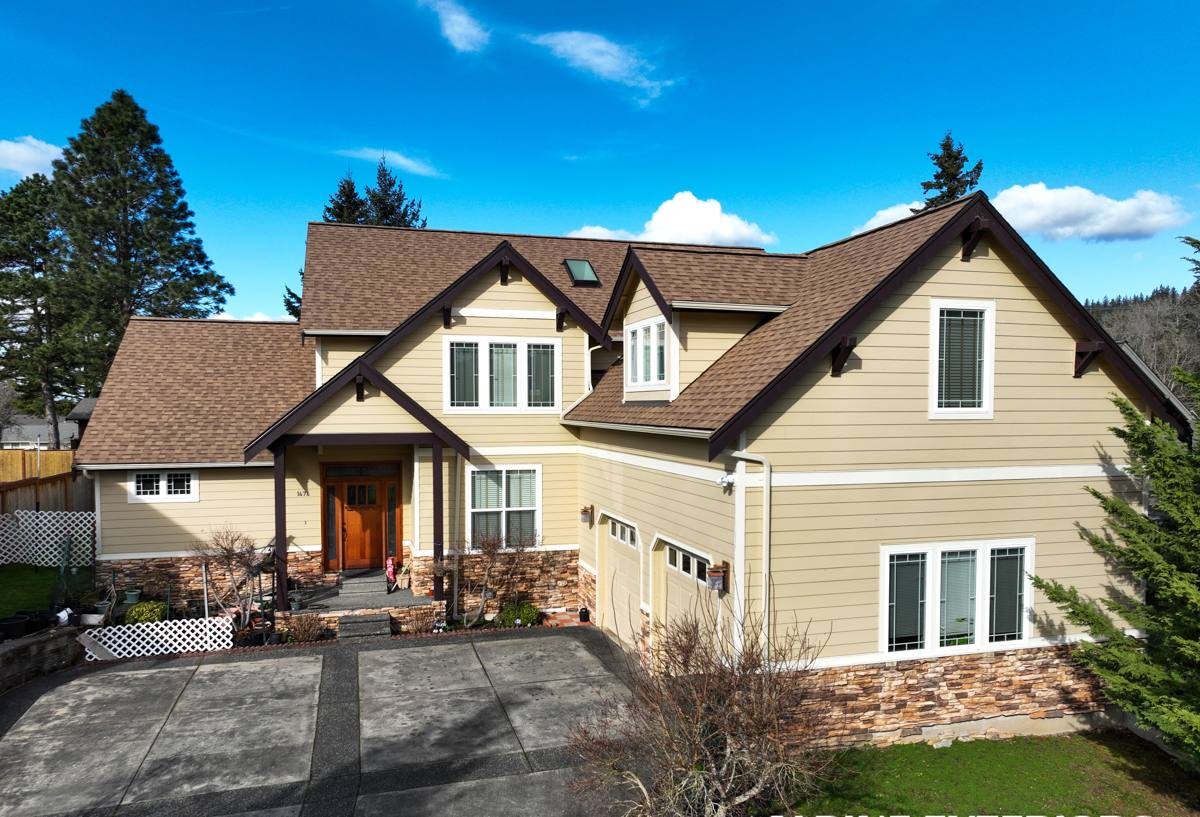
What Guemes Island's Climate Actually Asks of a Window
Salt Air and Corrosion
Homes near the water on Guemes Island are exposed to salt-laden air more consistently than most inland Skagit County properties. Salt accelerates corrosion on exposed metal — hinges, cranks, screws, and cladding fasteners all take more of a beating here than they would a few miles inland. This doesn't mean every window needs marine-grade hardware, but it does mean hardware quality and finish matter more on this job than on a typical build, and it's worth choosing components rated for coastal exposure rather than standard interior-grade hardware.
Wind-Driven Rain Off the Sound
Storms coming off the water don't just drop rain straight down — wind pushes it sideways and up under trim, sills, and any gap in the flashing. A window that would perform fine in a sheltered inland location can leak on an exposed island site if the flashing details around it aren't built to shed water that's moving horizontally, not just falling vertically. This is one of the biggest differences between a "good enough" install and a correct one, and it's almost entirely about sequencing — which layer goes over which — rather than the window unit itself.
A Long, Wet Moss Season
Western Washington's wet season runs long, and on the island the combination of moisture and shade keeps siding, trim, and window surrounds damp for extended stretches. Moss and algae growth isn't just cosmetic — sustained dampness against wood trim or poorly drained sills is what eventually leads to soft spots and rot. Good drainage detailing at the sill and proper gaps for materials to dry out matter more here than in a drier climate.
New-Construction Installation vs. Replacement — Why It's a Different Job
These two jobs share a product category but almost nothing else about the installation method. Confusing them — or hiring a crew that only knows one — is where a lot of new-build window problems start.
| Factor | New-Construction Install | Replacement Install |
|---|---|---|
| Window type | Nail-fin (flange) frame, integrated into the wall assembly | Pocket or insert frame, fits inside the existing opening |
| Timing | Set before siding, after sheathing and weather-resistive barrier | Set into an existing finished wall, siding already in place |
| Flashing | Fully integrated with the house wrap and sheathing in shingle-lap order | Sealed at the perimeter of the existing opening; less access to the rough opening |
| Coordination | Sequenced with the framer, siding crew, and sometimes the GC's schedule | Standalone job, minimal coordination with other trades |
| Error consequences | Hidden behind finished siding and trim — mistakes surface as rot or leaks years later | More visible and more accessible if something needs correcting |
Because new-construction windows are sealed into the wall assembly before the siding goes on, the installer's flashing sequence — not just the window itself — determines whether water stays out for the next thirty years.
What a Correct New-Construction Window Install Involves
A correct install isn't complicated, but it has to happen in the right order, every time, on every opening. This is the sequence we hold to on Guemes Island builds:
- Rough openings checked for square and correct size before any window arrives on site
- Weather-resistive barrier (house wrap) installed and lapped correctly at each opening before the window is set
- Sill pan flashing installed at the base of every opening to direct any water that gets past the window back outside, not into the wall
- Window set level, plumb, and square, then fastened through the nail fin per the manufacturer's schedule
- Flashing tape applied in proper shingle-lap order — sides first, then head flashing last, so water always sheds downward and outward
- Head flashing or drip cap installed above the window to break the path of wind-driven rain
- Interior and exterior sealant applied at the correct points — not everywhere, since sealing the wrong spot can trap moisture instead of releasing it
- Final check for level, operation, and a clean seal before siding crews close the wall
Skip or reorder any one of these steps and the window can still look fine on install day — the failure just won't show up until the first hard winter storm, or the third or fourth.
Picking Frame Material and Glass for an Island Build
There's no single "best" window material for every home — the right choice depends on exposure, budget, and how much upkeep you want to take on. For a Guemes Island new build, here's how the common options generally compare:
| Frame Material | Salt Air Behavior | Maintenance | Typical Trade-Off |
|---|---|---|---|
| Vinyl | Doesn't corrode; performs well in coastal air | Low — no painting or sealing needed | More limited color and profile options than clad wood |
| Fiberglass | Very stable, resists corrosion and expansion | Low | Higher upfront cost than vinyl |
| Aluminum-clad wood | Good if the clad finish and flashing are done right; failure points are usually at seams or fasteners, not the clad itself | Moderate — exterior is low-maintenance, interior wood may need attention over time | Higher cost, more installation-sensitive than vinyl or fiberglass |
| Bare aluminum | Prone to corrosion and pitting in salt air over time | Higher — finish degrades faster near the water | We generally steer island clients away from this for direct coastal exposure |
On glass, look for a unit with a solid U-factor for our climate and a coating that manages solar gain without turning the house into a cave on Skagit County's grey winter days. We'll walk through the specific glass package options for your build during the estimate rather than pushing one default across every project.
Working Around the Guemes Island Ferry and Your Builder's Schedule
Building on an island adds a scheduling layer that mainland Skagit County jobs don't have. Materials, crew, and equipment all move on the Guemes Island ferry, which runs on a fixed schedule rather than on demand. That means window delivery, crew arrival, and even something as simple as a forgotten tool run all have to be planned around ferry timing — not figured out on the fly. On a new-construction job, windows also have to show up at the right point in the framer's sequence: too early and they're sitting exposed on site, too late and the crew is waiting on them with the wall open to the weather. Getting this timing wrong costs days, not hours, when a missed ferry run means waiting for the next one.
Why a Crew That Already Works Guemes Island Is Worth Choosing
A lot of contractors will take an island job once and learn the logistics the hard way — underestimating ferry timing, showing up without the right flashing tape for a coastal install, or treating the job like any other mainland build. We already build our schedule around the ferry, stage materials so a full crew and everything they need travels together, and bring flashing details and hardware choices suited to salt air and driving rain as a matter of course, not as something we figure out mid-project. For a homeowner or builder, that translates into fewer surprises: fewer wasted trips, fewer schedule slips, and a window install that accounts for the island's climate from the first opening framed to the last one sealed.
Our Process, Start to Final Seal
For a new-construction window job on Guemes Island, our process generally looks like this:
- Walk the plans and rough openings with the builder or homeowner to confirm sizes, styles, and glass packages
- Order windows with lead time that accounts for ferry delivery and the framing schedule
- Coordinate install timing with the framing and siding crews so windows go in at the right point in the sequence
- Install weather-resistive barrier, sill pans, and flashing in the correct order at every opening
- Set, fasten, and seal each window, then flash the head and sides for wind-driven rain
- Final walkthrough to check operation, seals, and flashing before the wall closes up behind siding
We treat every opening the same way regardless of how many windows are on the job, because on an island build there's no convenient time to come back and redo one.
If you're planning a new build on Guemes Island and want windows installed by a crew that already knows the ferry schedule, the climate, and what a correct install actually requires, we're glad to walk the plans with you. Reach out for a free, no-pressure estimate using the form below.