 Burlington
 Building New in Avon Means Getting the Windows Right Before the Siding Ever Goes On
Avon sits in the flat, low-lying farmland of the Skagit Valley just outside Burlington, close enough to Puget Sound and Padilla Bay that salt-laden air is a fact of life, not an occasional nuisance. Add in Skagit County's driving rain events — wind-driven storms that push water sideways into a building rather than straight down — and a long, damp moss season that keeps exterior surfaces wet for months at a stretch, and you have a climate that is unusually hard on a home's exterior. For a new-construction project, that's actually good news: you get to build the water management right into the walls from day one, instead of chasing leaks and rot later. Windows are the single most common failure point in any building envelope, and on a new build, they're also the easiest thing to get right — if the crew installing them understands what this specific valley does to a house.
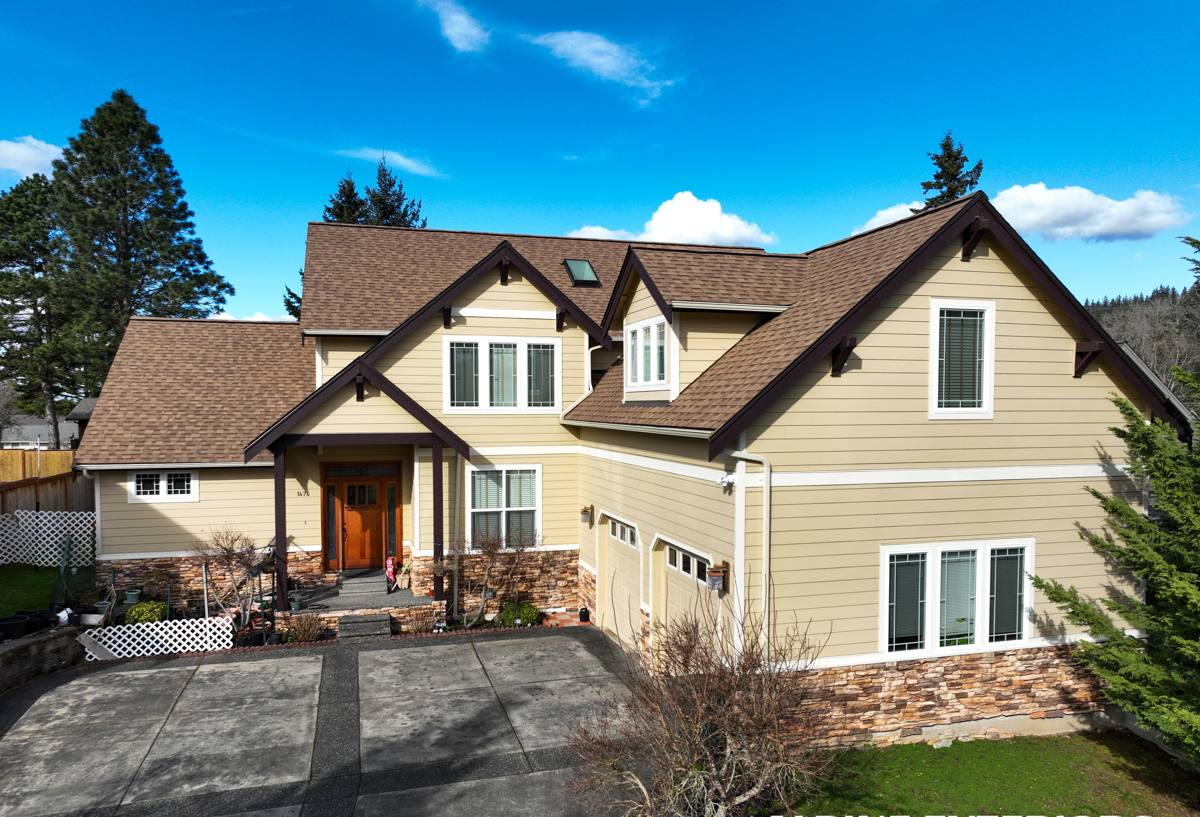
New-Construction Windows Are a Different Job Than Replacement Windows
People often assume "installing a window" is the same task whether it's a 20-year-old retrofit or a brand-new opening. It isn't. New-construction windows are installed into a raw, unfinished rough opening before siding, and often before the weather-resistive barrier (WRB or house wrap) is fully lapped and taped around them. That's a very different job than replacing a window in an already-finished wall.
Nail-Fin Construction
Most new-construction windows use a nailing flange (fin) around the perimeter of the frame. The fin gets fastened directly to the sheathing, then integrated into the weather barrier with flashing tape in a specific shingle-lap sequence — sill first, then jambs, then head — so that any water running down the wall is always directed out and over the layer beneath it, never trapped behind it. Get that sequence backward, or skip a step, and the mistake gets buried behind siding and finish work for the life of the house.
Why Doing It Right the First Time Matters More Here
In a drier climate, a flashing shortcut might go unnoticed for years. In Avon's combination of salt air, wind-driven rain, and near-constant damp during moss season, a poorly integrated window opening tends to show problems much sooner — staining, soft trim, or interior moisture at the sill within the first few wet seasons. New construction is the one point in a home's life where every layer is open and accessible. It's the cheapest and easiest time to do this correctly, and the most expensive time to get it wrong.
Where New Homes Actually Fail: The Window-to-Wall Connection
Almost every window leak we're called out to investigate on newer homes traces back to the same handful of details, not to the window unit itself. This is the part of the job that doesn't show once the siding is up, which is exactly why it has to be done correctly the first time.
- Sill pan flashing — a sloped, back-dammed pan under the window that catches any water that gets past the glazing and directs it back outside instead of into the wall cavity.
- Corner and jamb flashing — sealed and lapped so wind-driven rain pushing sideways against the wall can't work its way behind the window frame.
- Head flashing — installed last, always lapping over the WRB above it, so water shedding down the wall runs over the window, not into the gap above it.
- WRB integration — every flashing layer tied into the house wrap in the correct shingle-lap order, with no reverse laps that funnel water inward.
- Rough opening sizing and shimming — correct clearance and support so the frame isn't racked, which affects both weatherproofing and long-term operation of the sash.
None of this is visible once trim and siding go on. That's exactly why we treat it as the part of the job that determines whether a homeowner in Avon is dealing with window problems in year three, or not dealing with them at all.
Choosing Frame Materials for Salt Air and Driving Rain
Not every window product handles this climate the same way, and the right choice usually comes down to trade-offs in maintenance, corrosion resistance, and budget rather than one "best" answer. We walk builders and homeowners through these trade-offs honestly rather than pushing a single product line.
| Frame Material | Salt Air / Moisture Behavior | Maintenance | Typical Fit |
|---|---|---|---|
| Vinyl | Won't corrode or rot; performs well in salt air with no coating to fail | Low — occasional cleaning, no repainting | Budget-conscious builds, rental or spec homes |
| Fiberglass | Excellent dimensional stability, resists moisture and salt exposure well over time | Low — durable factory finish | Homes wanting a stronger, thinner-profile frame with long service life |
| Wood or wood-clad | Attractive but the most sensitive to sustained moisture and salt exposure if finishes aren't maintained | Higher — periodic refinishing/caulking needed on exposed elevations | Design-driven projects where interior wood aesthetics matter and upkeep is expected |
Our general standard for exposed, weather-facing elevations in this valley is to steer clients toward vinyl or fiberglass unless there's a strong design reason for wood, simply because those materials remove one more maintenance item from a homeowner's list in a climate that already asks a lot of exterior finishes.
Glass and Performance Specs That Actually Matter in Skagit County
Manufacturers publish a lot of performance numbers, and not all of them are equally relevant to this climate. For Avon specifically, we weigh these in order of importance:
- Air infiltration rating — with regular wind-driven rain, a tight air seal around the sash matters as much as the glass itself.
- U-factor — controls heat loss through the glass and frame; more relevant here than solar heat gain, since the Skagit Valley's overcast season is long.
- Low-E coatings — help with both comfort and reducing interior condensation on cold, damp mornings, which is common during moss season when humidity stays high for weeks.
- Double- vs. triple-pane glazing — triple pane improves comfort and reduces condensation risk further but adds cost and frame weight; we size this recommendation to the specific elevation and exposure, not as a blanket upgrade.
Solar heat gain coefficient (SHGC), which matters a lot in sunnier climates, is a lower priority for most Avon builds given how much of the year is spent under cloud cover.
Our New-Construction Window Process
Working With Your Builder or GC
On new builds we coordinate directly with the general contractor's framing schedule rather than working in isolation. Rough openings get verified against the ordered window sizes before the units ever arrive on site — a mismatch caught before installation is a quick fix; one caught after is a delay and a cost overrun for everyone.
Installation Sequence
- Verify rough openings and confirm window schedule against approved plans
- Install sill pan flashing and back dam
- Set window plumb, level, and square; shim and fasten per manufacturer specification
- Flash jambs, then head, in correct shingle-lap order tied into the WRB
- Seal and insulate the interior perimeter per manufacturer and code requirements
- Walk each opening before siding crews close it up
That last step matters more than it sounds. Once siding goes on, every flashing detail underneath is hidden for decades. We treat the pre-siding walk-through as a checkpoint, not a formality.
What a Correct Installation Includes — A Practical Checklist
If you're a builder, buyer, or owner-builder in Avon vetting any window crew, here's what should be true of the work before siding ever covers it up:
- Sloped sill pan with a back dam, not just flat flashing tape
- Flashing tape rated for the WRB system being used, applied in the correct shingle-lap order
- No reverse laps anywhere in the flashing assembly
- Shims and fasteners placed per the window manufacturer's written installation instructions, not generic practice
- Interior air seal completed with an appropriate low-expansion foam or sealant, not just fiberglass batt stuffed in the gap
- Every opening photographed or logged before it's covered, so there's a record of what's behind the finish
- Manufacturer warranty registered correctly, with installer information on file
Coordinating Windows and Siding as One System, Not Two Separate Trades
A window can be installed perfectly and still leak if the siding trade that follows doesn't lap and seal correctly around it — and the reverse is true too. Because we handle both window installation and siding work, we build the window flashing with the specific siding profile and WRB system already in mind, rather than installing windows generically and hoping the next trade adapts. In a climate where driving rain tests every seam in the envelope, that continuity between window and siding details is often the difference between a wall system that sheds water for decades and one that needs remedial work within the first few wet seasons.
Why It Matters to Hire a Crew That Already Works Avon
Avon isn't a large market, and its building conditions — proximity to Puget Sound air, the valley's rain exposure, and a moss season that keeps everything damp for a good stretch of the year — aren't identical to what a crew coming from a drier inland area is used to accounting for. A contractor who regularly works new construction in and around Burlington and the wider Skagit Valley already knows to detail sills and flashing for this exposure by default, already has a working relationship with local building department inspectors, and already understands how the area's WRB and siding conventions fit together. That local familiarity shows up less in what gets said during a bid and more in what doesn't go wrong three years after move-in.
If you're planning a new build in Avon and want window work done right the first time, we're happy to walk your plans, talk through material and performance options for your specific site, and provide a free, no-pressure estimate — just fill out the form below.