 Burlington
 Building New in Clear Lake? The Windows Deserve as Much Attention as the Siding
If you're framing a new home near Clear Lake, the window package is one of the few decisions that affects comfort, energy bills, and moisture protection for the entire life of the house. New-construction window installation is different from a replacement job — the windows go in before the siding, before the trim, and often before the weather-resistive barrier is fully lapped and taped. Get that sequence wrong and you're setting up a leak path that won't show itself for a few years, usually right around a window corner or sill.
Clear Lake sits inland from Burlington, but it's still squarely in Skagit County's wet marine climate. Homes here deal with long stretches of driving rain, humid air off the Puget Sound lowlands, and a moss season that can run most of the year on shaded roof and wall surfaces. None of that is unusual for this part of Washington — but it does mean a new-construction window installation has to be built for sustained moisture exposure, not just a dry-season install date.
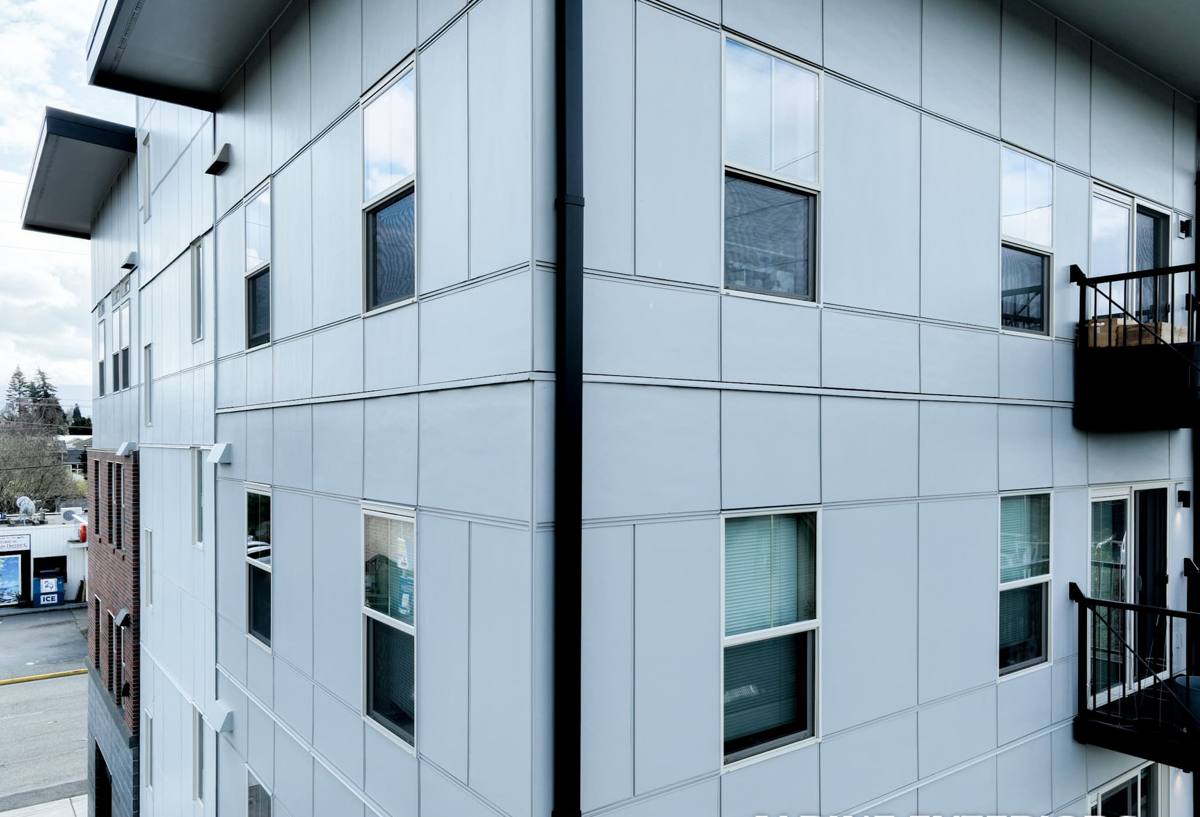
What New-Construction Window Installation Actually Involves
"New construction" windows aren't a different product line so much as a different installation method. These are windows with a nailing fin, set into a rough opening before the exterior finish goes on, which gives us full access to build proper flashing and drainage into the wall assembly. That's the biggest advantage over a retrofit or pocket-replacement window — we're not working around existing siding, trim, or old flashing that may already be compromised.
The sequence that actually keeps water out
- Rough opening is checked for square, level, and correct sizing before anything gets installed
- Sill pan flashing is installed first, sloped to shed any water that gets past the window back to the exterior
- Window is set, shimmed, and fastened per the manufacturer's specified pattern — not just "however many screws fit"
- Jamb and head flashing integrate with the weather-resistive barrier in the correct shingle-lap order, bottom to top
- Flashing tape is pressed and rolled, not just stuck down loosely, especially at corners where three planes meet
- Interior air sealing (backer rod and sealant, or low-expansion foam) is completed at the gap between frame and rough opening
That order matters more than the window brand. A premium window with sloppy flashing will leak. A mid-grade window with correct flashing, properly lapped house wrap, and a sloped sill pan will perform for decades. We've said this to plenty of homeowners and builders: the window is maybe a third of the equation. The other two-thirds are the flashing detail and how well it ties into the rest of the wall's water management plan — which is also why we want to be involved in that conversation before siding goes up, not called in afterward to patch a problem.
Why Skagit County's Climate Changes the Calculation
Driving rain — wind-driven, horizontal, sustained rain rather than a quick vertical shower — is the real test for any window installation. It pushes water sideways and upward into gaps that would never leak in a calmer climate. That's exactly the kind of weather Clear Lake gets on a regular basis through fall, winter, and spring. A flashing detail that would pass fine in a drier region can fail here within a few wet seasons if it's not built with driving rain specifically in mind.
Moss and algae growth is the other piece. Extended dampness on north- and shade-facing walls encourages growth on siding, trim, and sills if water isn't shedding away cleanly. Windows with poor drainage at the sill — even a slight backward pitch or a missing weep path — hold moisture right where wood trim, caulk joints, and finish surfaces are most vulnerable. Over a few moss seasons, that trapped moisture is what turns into soft trim, failed sealant, or interior staining below the window.
None of this means new construction in Clear Lake needs exotic materials. It means the standard details — sill pans, proper flashing laps, correct sealant joints, adequate roof overhangs where the design allows — need to actually be done, every time, on every window. That consistency is where a lot of installations fall short, usually from crews moving fast on a build schedule rather than any real gap in knowledge.
Choosing the Right Window for a New Skagit County Home
Frame material, glazing package, and performance ratings all matter, and the right combination depends on the home's design, budget, and how exposed each elevation is to weather.
| Factor | What to Look For | Why It Matters Here |
|---|---|---|
| Frame material | Vinyl, fiberglass, or wood-clad — each has real trade-offs in cost, expansion behavior, and long-term maintenance | Frames that hold up to repeated wet-dry cycling reduce sealant and caulk failure over time |
| U-Factor | Meets or beats Washington's energy code for our climate zone | Keeps heating costs down through Skagit County's long, damp winters |
| Solar Heat Gain Coefficient (SHGC) | Moderate — western Washington doesn't need aggressive solar rejection | Balances winter light gain against summer overheating on south and west elevations |
| Sill design | Positive drainage path, no flat or reverse-sloped sills | Prevents standing water and moss growth at the most exposed part of the window |
| Exterior finish | Factory-finished exterior cladding on the frame where possible | Reduces field-painted surfaces that need recoating as they weather |
We don't push one brand as the only acceptable option. What we do insist on is a window with documented performance ratings, a real warranty structure behind it, and a frame design that drains water rather than holding it. If a product's sill geometry or cladding detail makes it prone to trapping moisture in a wet climate, we'll say so plainly and point toward something that fits Clear Lake's weather better — that's a maintenance and moisture conversation, not a knock on any manufacturer.
Egress and code basics worth confirming early
Bedroom windows need to meet Washington's egress requirements for opening size and sill height — this is a code minimum, not optional, and it's far easier to plan for at the framing stage than to discover during final inspection. If you're working from house plans already, we'll cross-check window schedules against code before installation day, not after.
How We Work With Builders and Owner-Builders on New Construction
Most of our new-construction window work in the Clear Lake and greater Burlington area comes in one of two ways: as a sub to a general contractor framing the home, or working directly with an owner-builder managing their own trades. Either way, the process looks similar.
- Plan review — we look at the window schedule, rough opening sizes, and elevations before ordering anything, catching sizing or egress issues while they're still cheap to fix
- Coordination with the framer and siding crew — window installation has to land in the right window in the build schedule: after rough framing and house wrap, before siding closes everything in
- Flashing and installation — done to manufacturer specification and Washington building code, with sill pans and lapped flashing as standard practice, not an upsell
- Walkthrough — every window gets checked for operation, seal, and squareness before we consider the install complete
Because we're a Burlington-based crew, we're not driving in from out of the area for a one-off job and disappearing afterward. If a question comes up two years down the road — a sticking sash, a sealant joint that needs attention — we're still local and reachable.
A Practical Checklist for Homeowners and Owner-Builders
- Confirm window U-Factor and SHGC ratings meet Washington energy code for your climate zone before ordering
- Ask specifically whether sill pan flashing is included as standard practice — it should be, on every window
- Check that bedroom windows meet egress size and sill height requirements before framing is finalized
- Sequence the install after house wrap is on and lapped correctly, before siding begins
- Get a clear answer on warranty coverage — both the manufacturer's product warranty and the installer's labor warranty
- Ask how corner and head flashing details are handled at inside and outside corners, not just on a flat wall run
Why Hiring a Crew That Already Works Clear Lake Matters
A lot of window problems in this part of Skagit County trace back to installation practices imported from drier climates — details that hold up fine in low-rainfall regions but weren't built for sustained driving rain and long stretches of damp weather. A crew that installs windows regularly around Clear Lake and Burlington already knows which elevations take the worst weather, how far moss and algae growth can creep in a single wet season, and where sloppy flashing tends to show up as a callback two or three years later.
That local experience shows up in small decisions — how tight the flashing tape gets pressed at a corner, whether the sill pan actually slopes outward, whether the crew slows down on the north wall where moisture sits longest. Those details are the difference between a window that performs for thirty years and one that needs attention in five.
If you're planning a new build near Clear Lake and want the window package handled right from the framing stage forward, we're happy to walk the plans with you and put together a straightforward estimate — no pressure, no upsell, just a clear look at what your home needs.